Topic 1 of 13 · Documents
Manual Upload
Use manual upload for receipts that are not included in bank exports. You can upload several files together or a ZIP containing receipt documents.
- Open Documents and select or drop the files or ZIP.
- Review the prepared files and any skipped-file reasons.
- Select Confirm upload and follow the progress.
- Wait for document processing, then review extracted data where needed.
- Attach the documents to an existing entry or use them to create a manual entry.
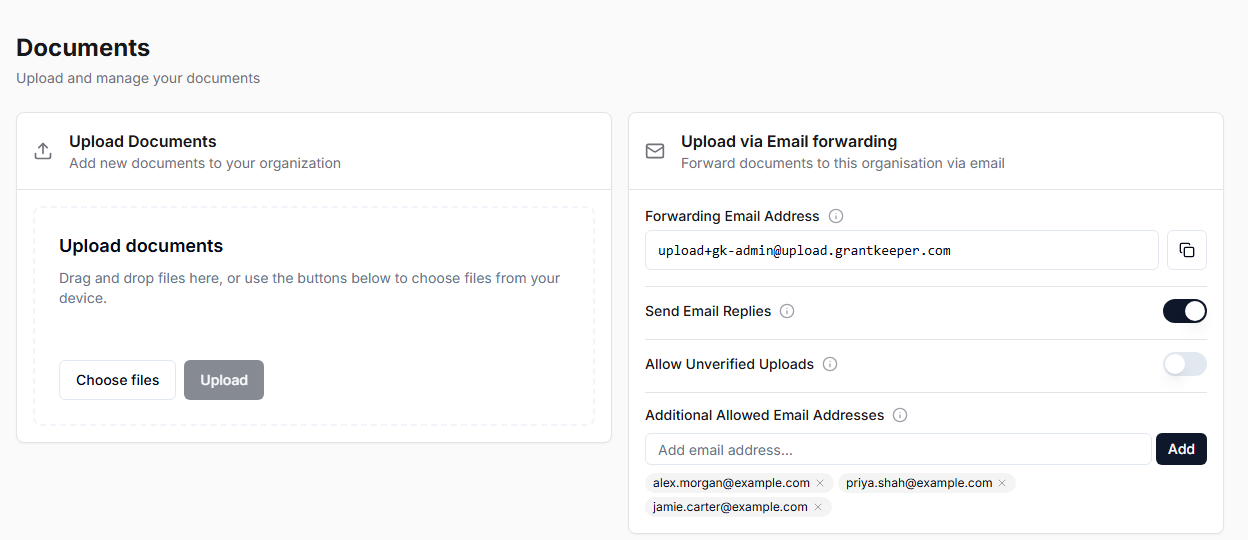
Supported receipts are PDFs and PNG, JPEG, WebP, GIF, HEIC or HEIF images. Each document can be up to 8 MB. A selection can contain up to 200 documents totalling 200 MB. A ZIP can be up to 2 GB and hold up to 10,000 entries, so a whole receipts folder can go in as it is: anything unsupported inside it is reported as skipped rather than blocking the upload, and the 200 document / 200 MB selection limit still applies to what comes out. Nested ZIPs are not expanded. These limits differ from grant-context uploads.
Upload bank statement exports through Statements. A ZIP uploaded in Documents only adds files to the evidence library; it does not create a bank import batch.
If an upload stops or only some files succeed, check Documents before retrying: completed files may already be saved. Upload completion and AI processing completion are separate stages.